Quick links:
1. Contacts (only) import
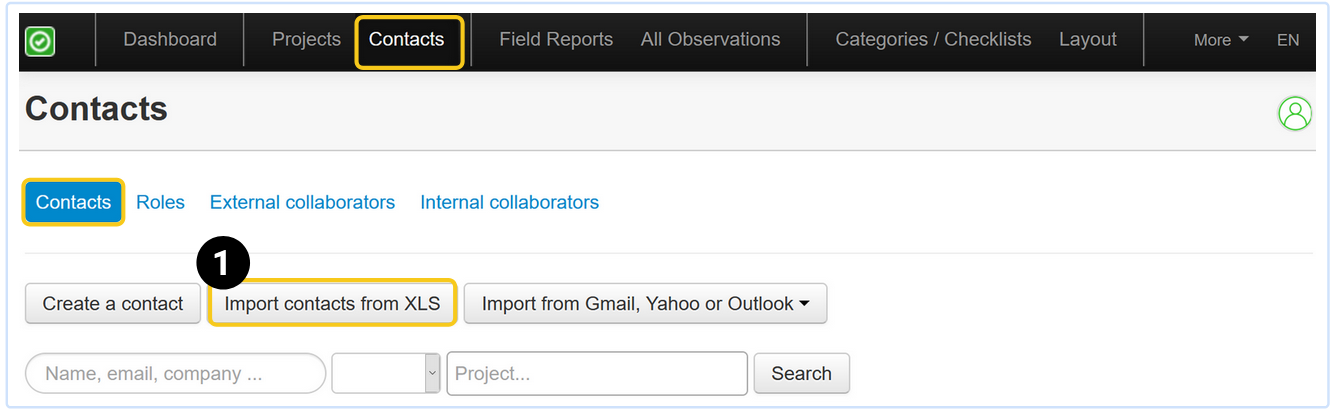
In the online account, go to 'Contacts' and click on 'Import contacts via excel':
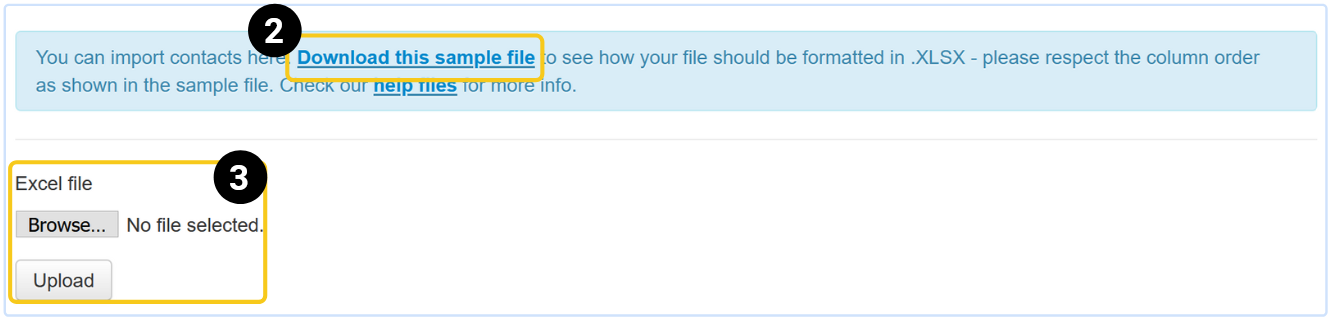
Click on 'Download this sample file' to understand how to format your excel file for a successful import.
Which information goes into which column:
Column A - the word 'person' (to indicate that it is a contact)
Column B - role (mandatory field)
Column C - name (mandatory field)
Column D - email address (mandatory field)
Column E - telephone number
Column F - sub role
Column G - company name
Column H - external ID (unique key of this contact, not mandatory)
Then click on 'Choose file' and 'Upload' to import your excel list. After the upload, the contacts will end up in the contact table.
2. Import projects with contacts via excel
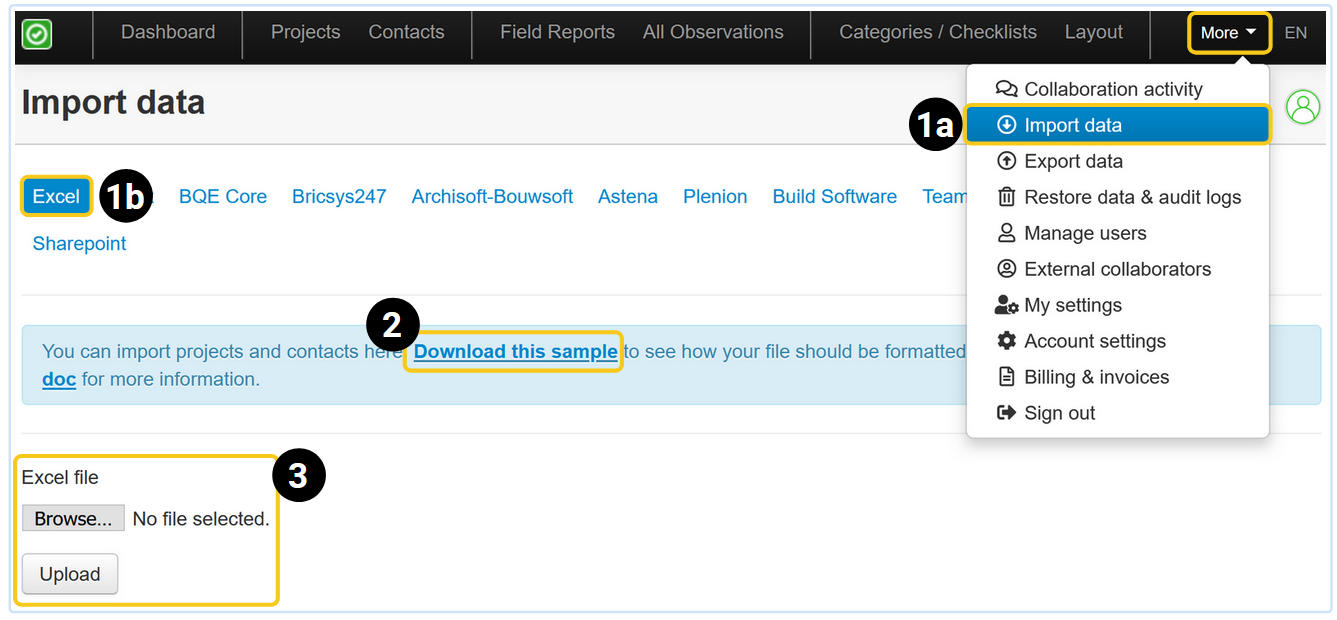
In the online account, click on ‘More’ >> ‘Import data’ >> ‘Excel’.
Click on ‘Download this sample' to know how to format your file for a successful import.
Click on ‘Browse’, then ‘Upload’ to import your file.
Which information goes into which column:
Column A - the word 'site' (to indicate that it is a project)
Column B - project number (mandatory field)
Column C - project name (mandatory field)
Column D - part 1 of the address: street and number
Column E - part 2 of the address: postal code and city
Column F - country
Column G, H, I, J, K: additional info fields
Column L - project description
Column M - number of the first report
Column N - layout template for all reports of this project
Contacts that are added to the rows directly underneath a project (site) will automatically be linked as a contact for that project.

Questions? Support@archisnapper.com.