With this integration, it is possible to import your documents and floor plans from Sharepoint into ArchiSnapper and to export your AchiSnapper site reports and photos back to Sharepoint.
1. Establish a connection between your ArchiSnapper and Sharepoint account
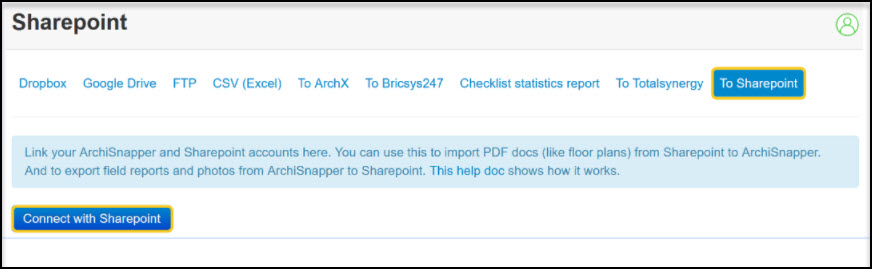
Activate the integration in your ArchiSnapper account. Click on More > Export Data > Sharepoint:
Click the "Connect with Sharepoint" button:

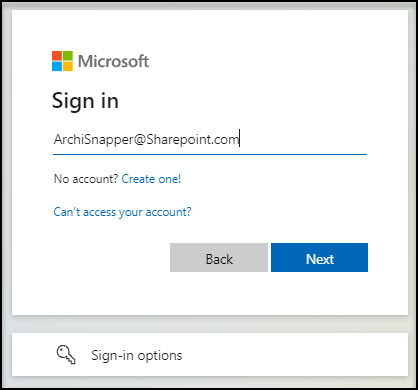
It may prompt you to enter your Windows/Sharepoint credentials to login and access it:
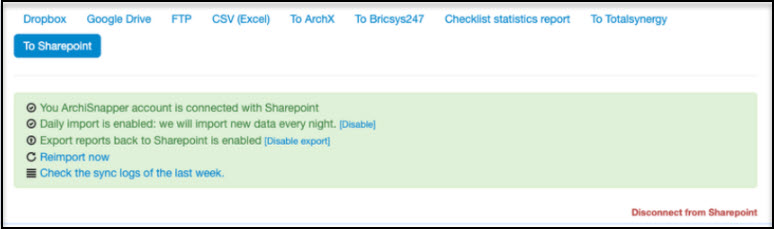
When the connection is established you will see the following page:
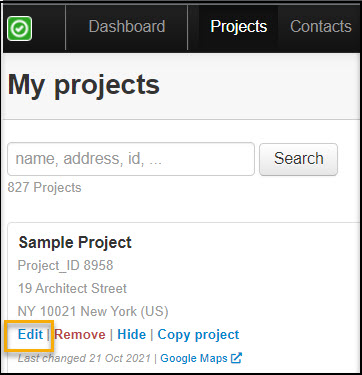
2. Link Projects
Each project must be linked to the corresponding project in Sharepoint.
On a project, tap on 'Edit':
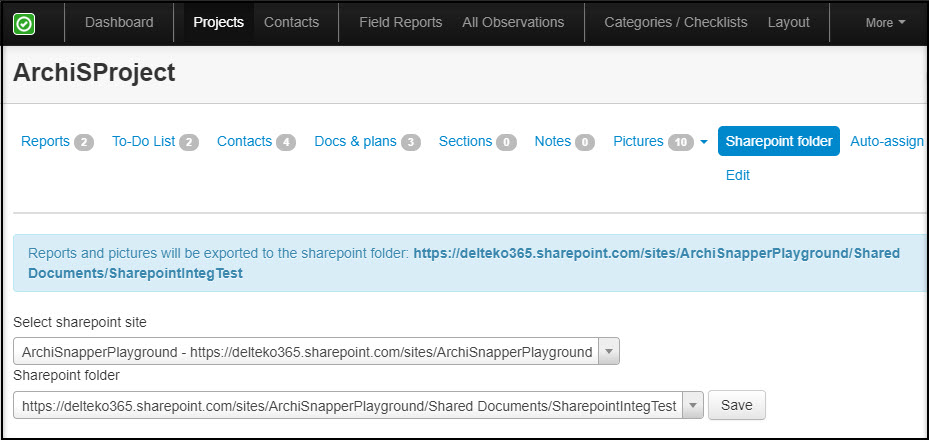
Select 'Sharepoint Folder'. Navigate through the drop-down search field to Select your designated Sharepoint Site and Sharepoint folder. Once done. tap on Save to link the projects:

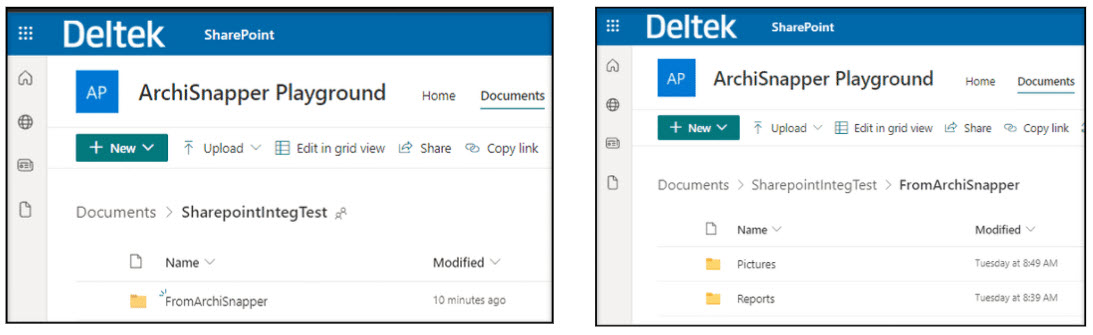
You will get this screen result once the link was successfully established:
From now on, all reports and project photos from ArchiSnapper will appear in the "FromArchiSnapper" folder in your designated SharePoint account path. This folder will be created automatically, you don't have to do anything for this:
3. Import Sharepoint Documents to ArchiSnapper
Furthermore, you can easily import documents and floor plans into ArchiSnapper, from Sharepoint.
For this, you need to manually create a folder with the name 'ToArchiSnapper' in the exact format, within the project Sharepoint folder:
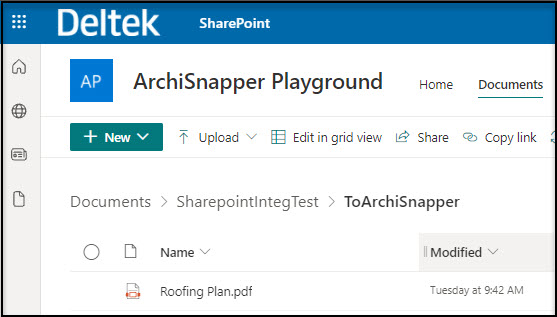
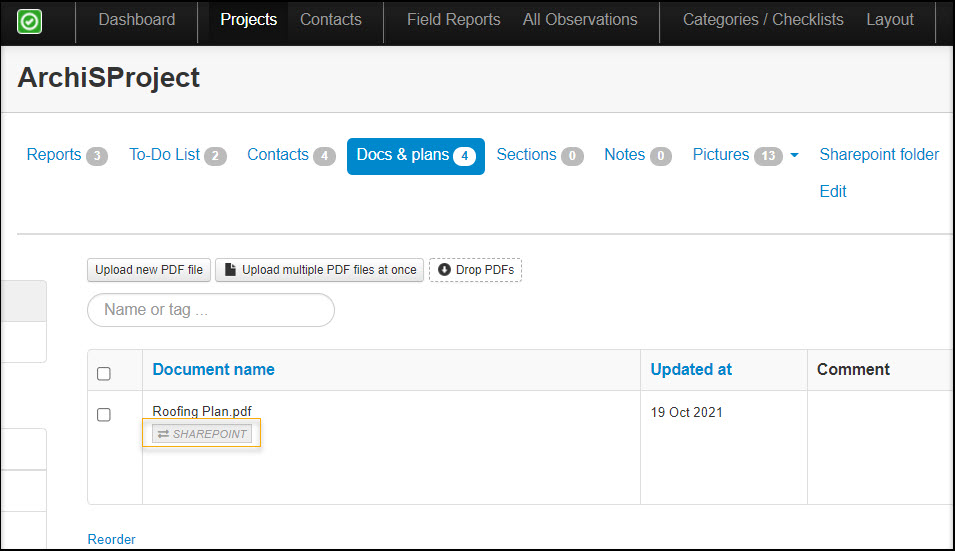
All PDF documents that you'll put in that folder will automatically get uploaded to "Docs and plans" tab of that specific project in ArchiSnapper, with indication that it was from Sharepoint:
Questions? Reach out to us at support@archisnapper.com!