Some ArchiSnapper users have a lot of checklists and categories and most of these do not apply to all of their projects.
So now you can select which checklists or categories should be available for any given project.
This can help avoid mistakes with selecting the wrong checklist or category, but it will also reduce the scrolling time.
Here's how this works.
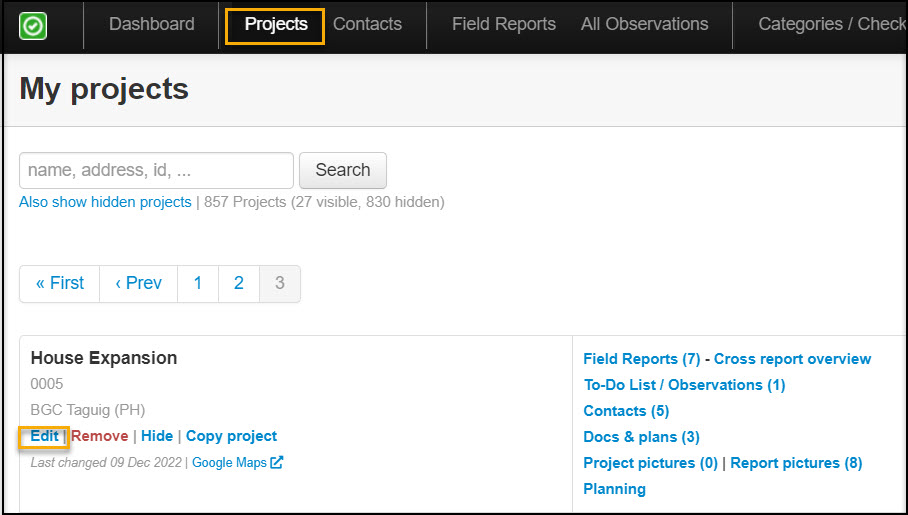
1. In the online account, go to the projects page and click Edit for any project:
2. On the next page, click on the Checklists or the Categories tab.
For checklists, click the box that says 'Use a subset of checklists for this project'. And then select the checklists that should be available for this project:

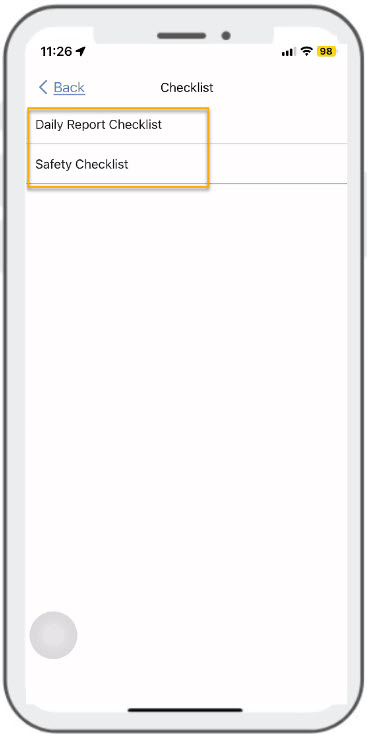
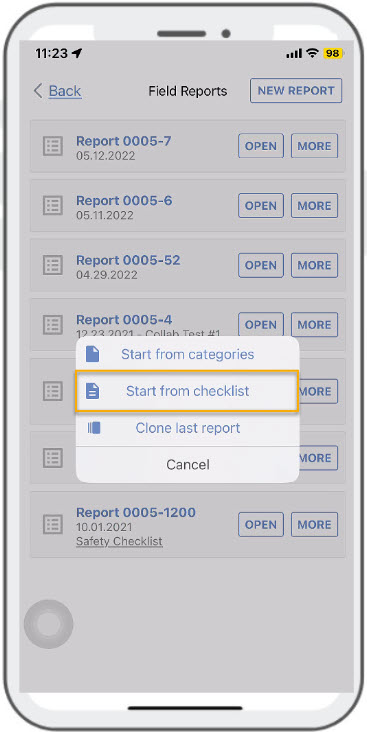
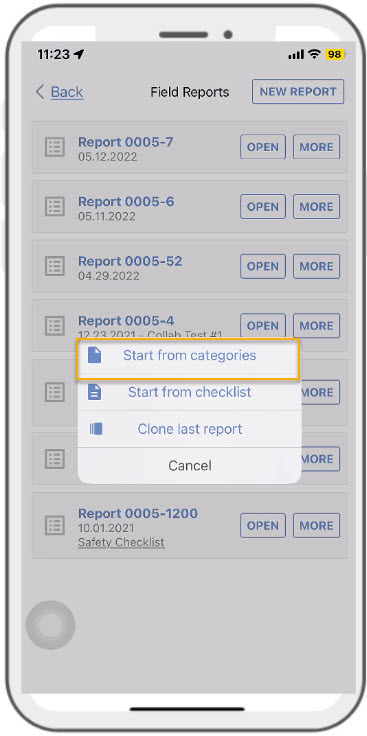
When you now create a checklist-based inspection report for this project, only the selected checklists will appear available for you for that project:
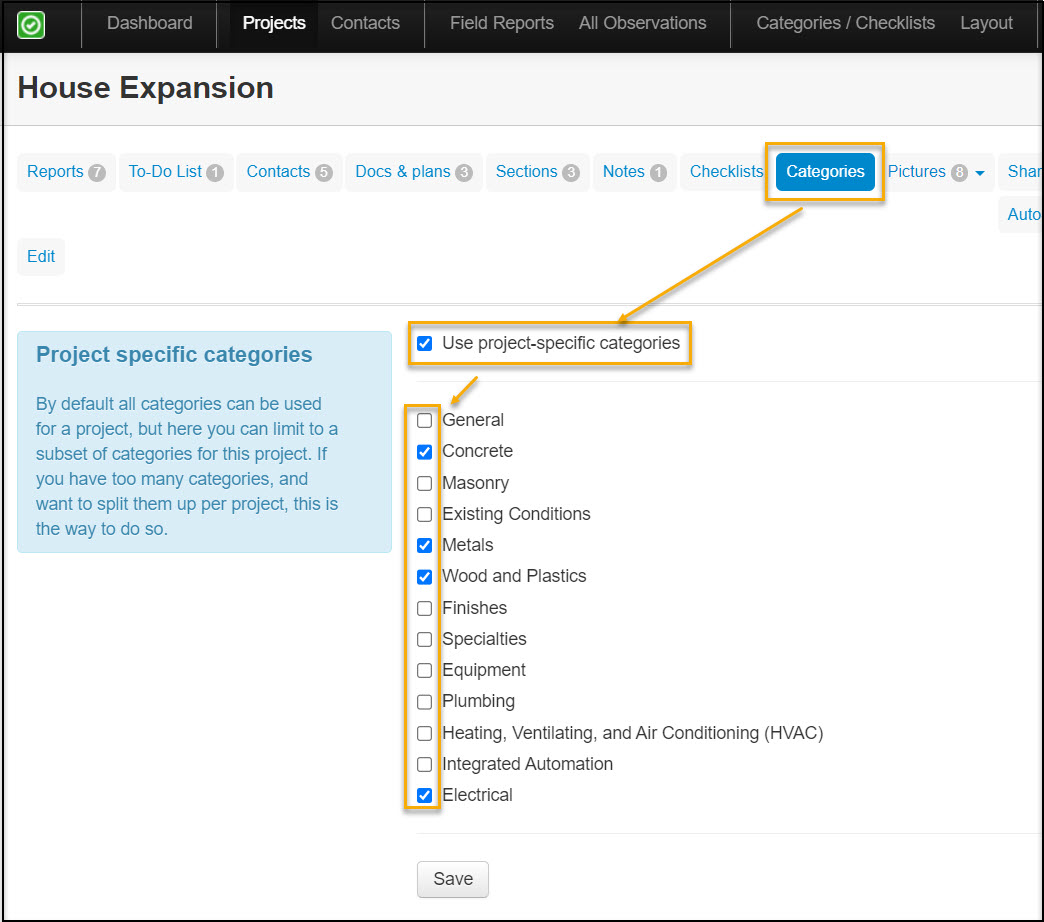
To limit the categories available for this project, go to the 'Categories' menu item, and click the box that says 'Use project-specific categories'. Select the subset of categories that should be available for this project:
When you now create a category based report for this project, only the selected categories will appear:

Questions or suggestions? We'd love to hear from you! Email us at support@archisnapper.com.